
Last updated November 21, 2026
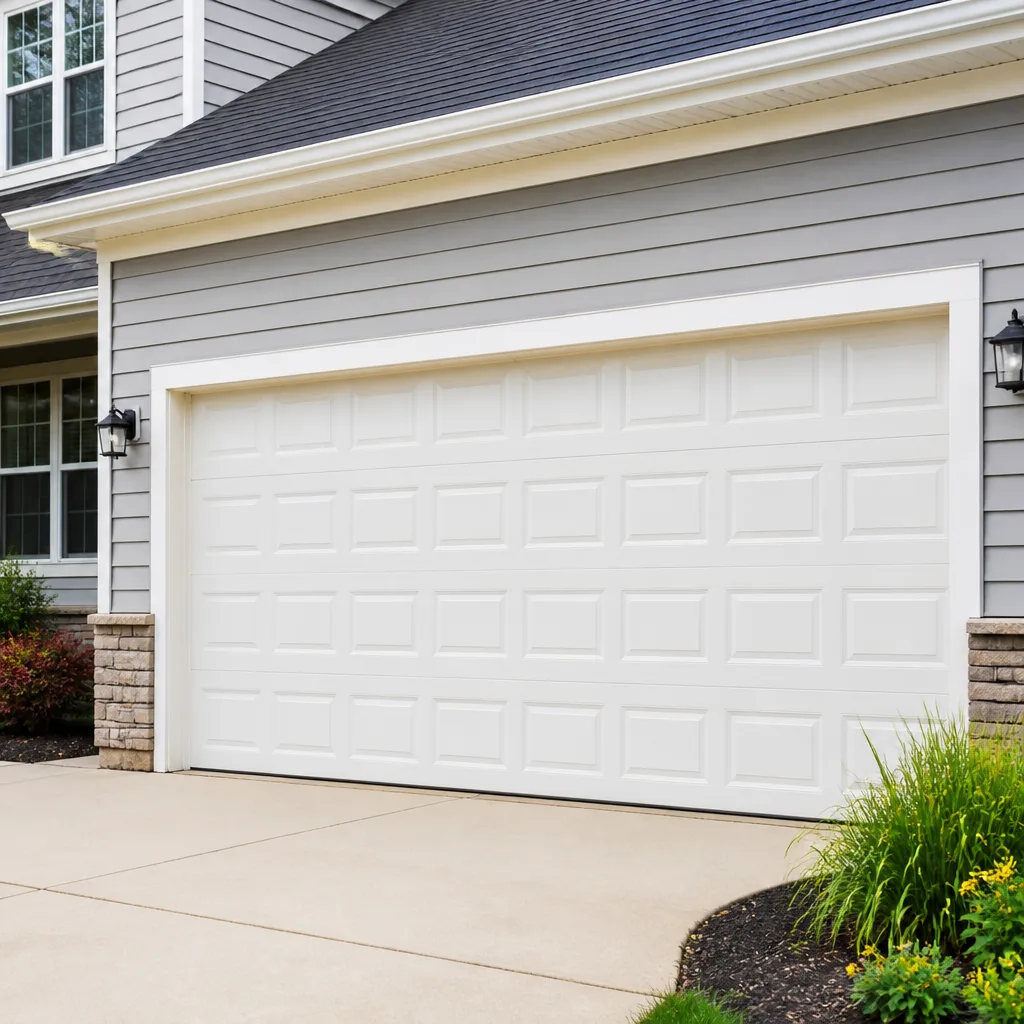 Raised-panel steel
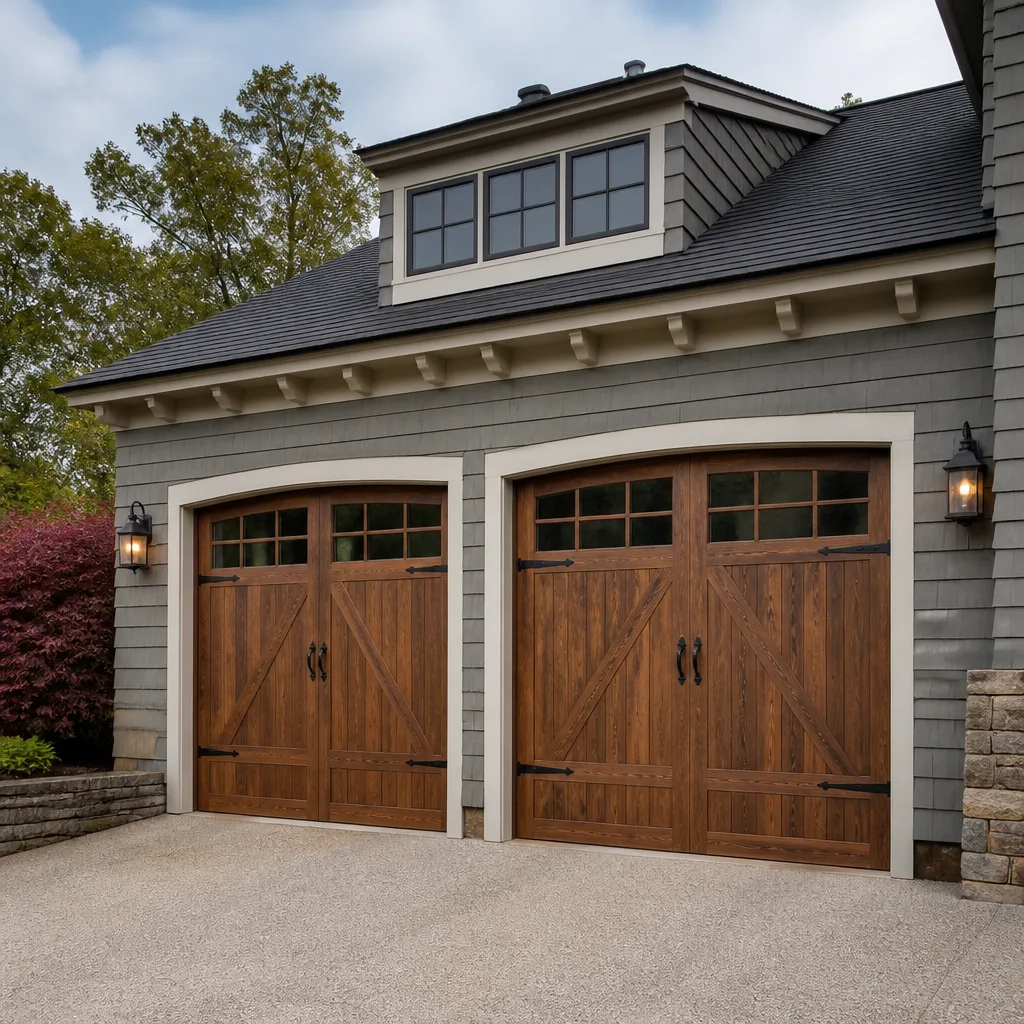 Carriage house
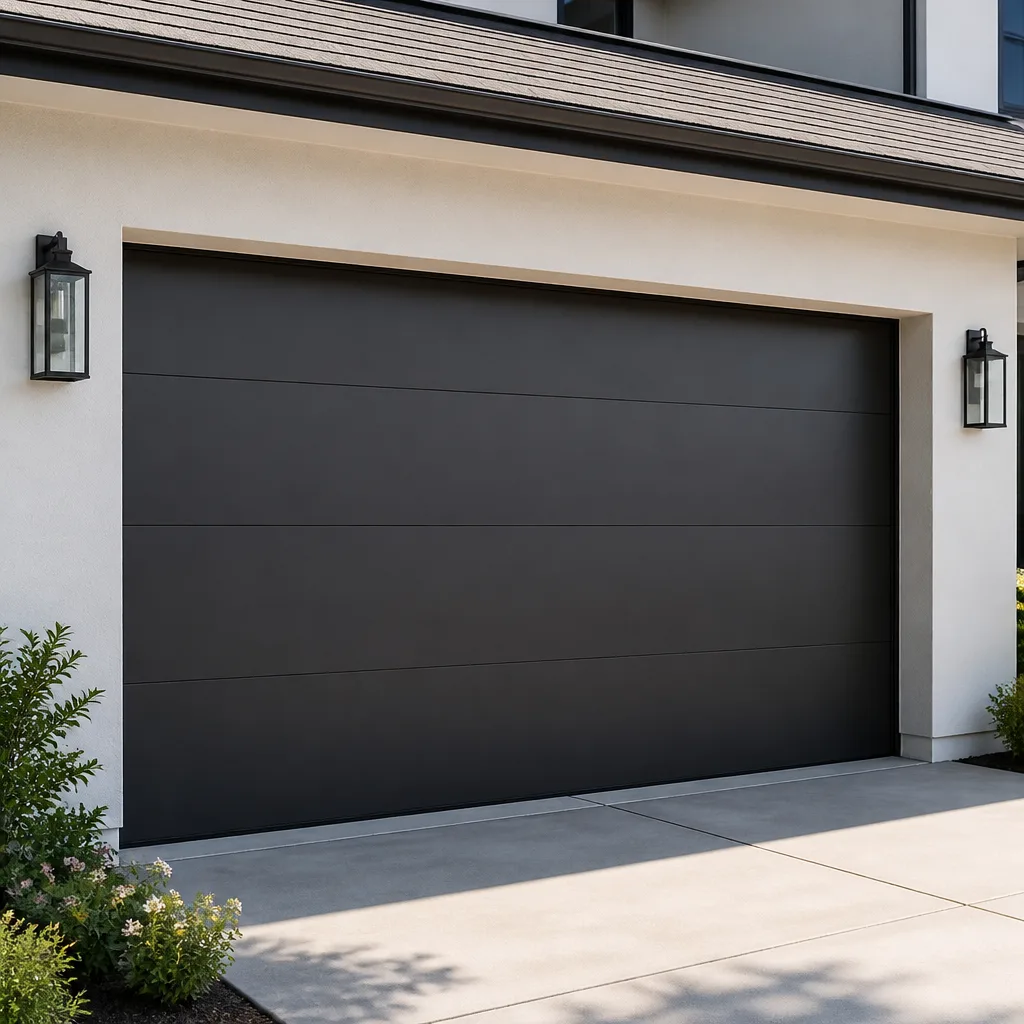 Modern flush
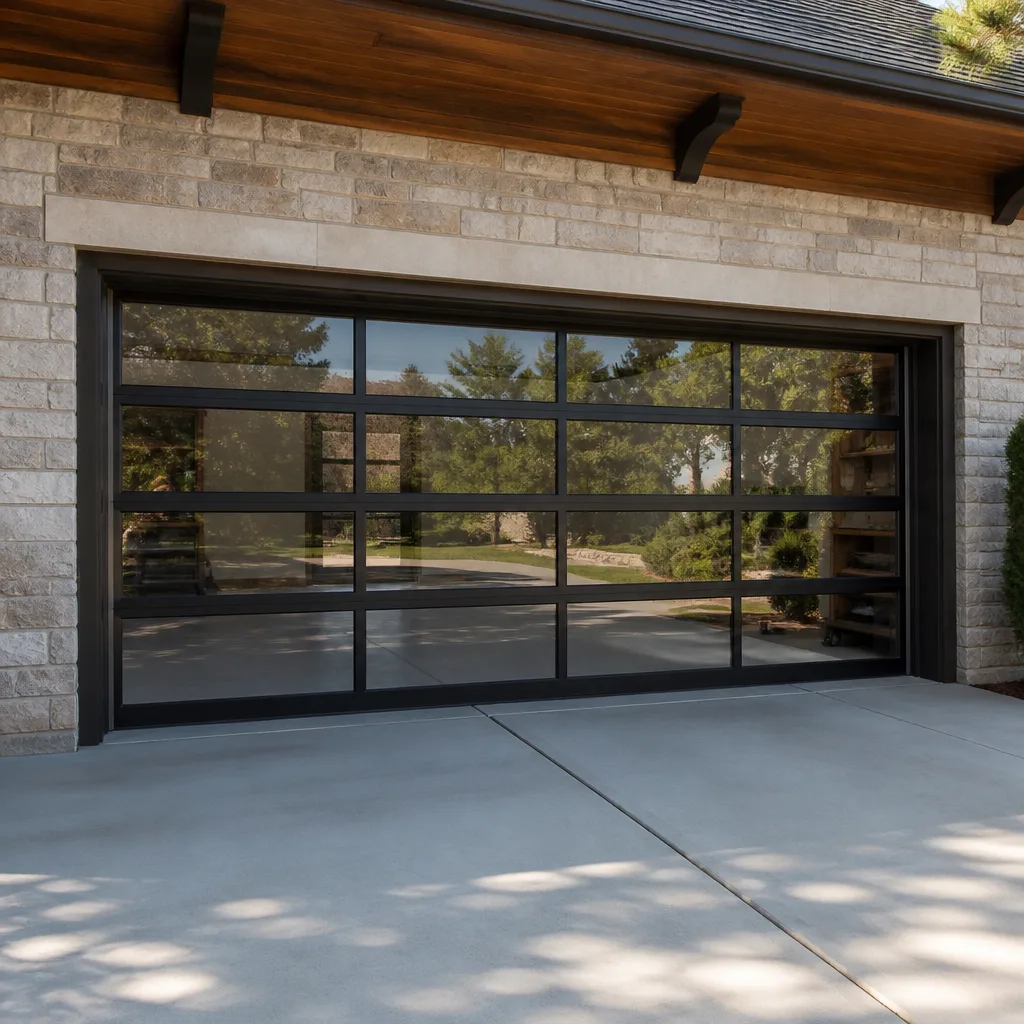 Full-view glass
 LiftMaster openers
 Chamberlain openers
Full 25-point door and opener safety check with every visit - springs, cables, rollers, tracks, and your LiftMaster or Chamberlain opener included
You get a price before we start. It does not change when the pro arrives.
Get your free estimateGarage Door Repair Maintenance Checklist for Norfolk Homeowners
If you’re lubricating your garage door rollers before inspecting the spring shaft for surface rust, you’re maintaining in the wrong order. In Norfolk’s humid, temperature-swinging climate, high-tension springs show oxidation long before rollers ever wear out, which means most homeowners spend their Saturday tuning the wrong parts. The failure sequence here is predictable: spring corrosion, then roller wear, then track misalignment. This guide walks you through a priority-ordered checklist built around that sequence, with the specific products, rust thresholds, and pass/fail tests that actually matter for a Norfolk door. You’ll learn what to check, in what order, and where doing it yourself becomes genuinely dangerous.
Quick Answer
Norfolk homeowners should inspect their garage door in this order: torsion springs first (for rust and pitting), then rollers, then tracks, then weatherstripping, then the opener’s force-limit and auto-reverse systems. Springs fail first here because humidity and temperature swings accelerate corrosion on high-tension steel. Lubricate with a moisture-resistant product, not standard white lithium grease, which displaces poorly in humid air. And never adjust or replace springs yourself: that work belongs to a trained specialist.
Styles & brands we work with
- Raised-panel steel
- Carriage house
- Modern flush
- Full-view glass
- LiftMaster openers
- Chamberlain openers
Table of Contents
- Why Maintenance Order Matters in Norfolk
- Step 1: Inspect Torsion and Extension Springs First
- The Rust-Staging Guide for Springs
- Step 2: Rollers and Hinges
- Step 3: Track Alignment and Fasteners
- Step 4: Weatherstripping and Seal Degradation
- Step 5: Opener Force-Limit and Auto-Reverse Tests
- What to Lubricate and What to Avoid
- Your Seasonal Maintenance Schedule
Why Maintenance Order Matters in Norfolk
Most garage door maintenance advice is written for a climate that doesn’t match ours. Generic checklists put lubrication first and springs last, which is backwards for a door in Norfolk. High humidity pushes moisture into the Spring shaft and the coils themselves, and the temperature swings between summer afternoons and winter mornings work that moisture in and out of the metal. Corrosion starts there, deep in the coils where you can’t see it easily, and it moves faster than roller wear on a door that gets cycled a few times a day.
So when we build a checklist for a Norfolk home, we start with the component most likely to fail first and work outward. That’s not a stylistic choice; it’s the order our technicians reverse-engineer from the doors we see.
Here’s what the failure sequence looks like in practice. Springs corrode and weaken, which changes the balance of the door. An unbalanced door puts uneven load on rollers and hinges, accelerating their wear. Worn rollers let the door shift slightly, which nudges the track out of alignment. By the time a homeowner notices a grinding sound or a sticking door, three parts are already involved. A maintenance pass that starts at the spring catches the root cause before the downstream damage begins.
If your door is already past maintenance and needs a real fix, garage door repair starts with diagnosing which link in that chain failed first. For the maintenance pass itself, read on. The order below is the one we recommend for every door in Norfolk, whether it’s a newer Wayne Dalton or an older Craftsman setup.
Step 1: Inspect Torsion and Extension Springs First
Springs come first because they carry the entire weight of the door and because they’re the most dangerous components in the system. A torsion spring is a coiled steel shaft-mounted spring under high tension; an extension spring stretches along the horizontal tracks. Both store enough energy to cause serious injury if they release unexpectedly. So here’s the rule: you inspect springs visually, from a safe distance, and you don’t touch, adjust, or remove them. Anything that requires hands-on work is a job for a trained specialist.
What to Look For
- The spring shaft and coils. Look for surface rust, discoloration, or a chalky orange film on the coil. That’s early oxidation.
- Gaps or separation. A torsion spring that has physically broken will show a clean gap between coil sections. Stop here if you see one; the door is unsafe to operate.
- Stretch or sag on extension springs. Extension springs that look longer than their neighbors or hang loose have lost tension.
- The safety cable. On extension springs, a steel cable should run through the center of each spring. If it’s missing or detached, that’s a safety gap worth fixing.
For a door in Norfolk, pay closest attention to the underside of the coils and the shaft itself, where moisture collects. A door that faces a humid garage or sits against an exterior wall will corrode faster than one in a dry, ventilated space. If the spring looks compromised, don’t cycle the door while you decide what to do. Call and describe what you see. Emergency garage door service exists for exactly this: a door that won’t move or shouldn’t be moved.
The Rust-Staging Guide for Springs
Not every speck of rust means replacement. The trick is knowing where you are on the corrosion curve, because a spring in early oxidation is still sound, while one that’s pitting is on borrowed time. Here’s the three-stage guide our technicians use when they evaluate a spring in Norfolk.
- Stage 1: Surface oxidation. A light orange or brown film, sometimes chalky, on the coil surface. The metal underneath is still solid and the spring holds tension. This is cosmetic and can be monitored every few months. Clean it, but don’t sand aggressively or coat it in anything that traps moisture.
- Stage 2: Pitting. Small pits or flaking where the rust has eaten into the metal, often visible as dark spots under a lifting surface layer. The spring is weakening, even if it hasn’t broken. This is the stage where we recommend planning a replacement rather than waiting for failure.
- Stage 3: Section loss or visible cracks. Metal is missing, the coil is cracked, or a gap has opened. The spring is structurally compromised. Do not operate the door. Call for a specialist.
The reason this matters in Norfolk specifically: the humidity here keeps a spring in Stage 1 longer than it would stay in a dry climate before it moves to Stage 2, and the transition can happen quietly between inspections. A spring that looked fine in spring may show pitting by fall. That’s why the schedule matters as much as the inspection itself. If you’re seeing Stage 2 or 3, a garage door spring repair call is the right move, and it should happen before the spring breaks on its own terms.
Step 2: Rollers and Hinges
Rollers come second because a balanced door wears them evenly, but an unbalanced one (from that weakening spring) chews them up fast. A roller is the small wheel that rides in the track; a hinge connects the door panels. Both are inspection-and-replace parts, not adjust-and-forget parts.
You’re looking for three things on each roller: flat spots, cracks in the wheel, and wobble on the shaft. A roller with a flat spot will thump as the door moves; that’s audible from a few feet away. Steel rollers tend to develop flat spots and get noisy, while nylon rollers wear more smoothly but can crack. If the rollers on your door show any of these, they’re due. Hinges need a look too: a hinge that’s bent, loose, or missing a screw is a signal that the door is riding unevenly. Tighten what’s loose, but if the hinge itself is deformed, it needs replacing, not bending back.
A quick way to check roller condition without tools: stand to the side of the door (never under it) and watch how the rollers ride the track as it opens. They should turn smoothly with no binding. In Norfolk, rollers that sit in a humid garage can develop a stiff, sticky feel even before they crack, which is worth flagging. If the noise has gotten louder over months, that’s the pattern that points to replacement. We can identify exactly which rollers are worn and whether the cause is a spring problem upstream. Running through a garage door repair diagnostic on a noisy door usually turns up the spring as the real culprit.
Step 3: Track Alignment and Fasteners
Tracks are the third stop because misalignment usually follows roller wear, not the other way around. A track that’s out of line is often a symptom: an unbalanced door rides unevenly, pushes against the track, and slowly nudges it out of true.
Here’s what to check, and it’s all visual. Run your eye down both vertical and horizontal tracks and look for bends, dents, or sections that are visibly closer together or farther apart than the rest. Then check the fasteners that hold the track to the wall and header: loose bolts let the track move, and movement causes binding. A track that’s bent or dented isn’t something to hammer back into shape yourself. Even a small dent can cause the rollers to bind and the opener to strain, and bending the track back can weaken the mounting. If you find a bent track or loose fasteners you can’t correct, that’s a job to hand off.
In Norfolk’s humid air, keep an eye on the fasteners for corrosion. A rusty bolt that’s seized in place can be more trouble to free than to replace, and the pro doing the fix will know how to handle it without stripping the fastener. If the track is bent but the door still runs, it’s still worth a look before the bend gets worse. Calling for a free estimate on a track inspection is cheap; waiting until the door won’t close is not.
Step 4: Weatherstripping and Seal Degradation
Weatherstripping is the bottom seal on the door and the trim that runs around the frame. It’s the part most homeowners notice last and replace too late. In Norfolk, the temperature swings between summer and winter are the real stress test: the rubber or vinyl seal expands in the heat and contracts in the cold, and over enough seasons it cracks, hardens, and loses its seal.
What degradation looks like before it fully fails: the bottom seal flattens and stops making contact with the floor, you see cracks or tears along the edge, or the seal pulls away from the door at the edges. A test you can do in a minute: close the door and look for light gaps along the floor and sides. If you can see daylight, the seal isn’t doing its job, and cold air, moisture, and pests come in through that gap. A weatherstrip that’s hardened but intact can sometimes be kept going a while longer, but once it’s cracked, it’s on its way out.
The fix is usually a new seal or a new frame of trim, which is a manageable job. The reason it belongs in the checklist is that a failing seal lets moisture into the garage, and moisture is what feeds the spring corrosion from Step 1. So the weatherstripping inspection isn’t a cosmetic detail; it’s part of the moisture management that protects the whole system. If your door also has failing hardware up top and you’re weighing a replacement over repair, garage door installation is the better path, and a free measure and written price will tell you which way makes sense.
Step 5: Opener Force-Limit and Auto-Reverse Tests
This is the step most checklists wave away with “check it,” which isn’t helpful. The opener’s force limit controls how hard it pushes to move the door, and its auto-reverse system is a safety feature that stops and reverses the door if it meets an obstruction. Both have pass/fail tests you can run in minutes, and both matter more as the door’s balance changes from spring wear.
The Auto-Reverse Test (Pass/Fail)
- Place a small object, like a piece of wood or a roll of paper towels, flat on the floor in the center of the door’s path.
- Close the door using the opener.
- Pass: the door contacts the object and reverses back open within a couple of inches. Fail: it continues closing and presses on the object, or it stops without reversing. A failing auto-reverse is a safety defect and should be corrected before the door is used again.
The Force-Limit Check
While the door is closing, if it struggles, hesitates, or the opener strains to push it, the force setting or the door’s balance is off. A door that needs a lot of force to close is usually fighting a balance problem, often the spring. On a LiftMaster or Genie opener, the force adjustment is a dial or a setting in the unit, but adjusting it to compensate for a door that’s out of balance is the wrong fix. If the door feels heavy, check the balance: pull the release handle (with the door down and the spring unloaded of its normal tension only under a specialist’s guidance) and lift the door by hand. A balanced door lifts with modest effort; a heavy one means a spring or hardware issue. If you’re not comfortable with this test, don’t do it. Let a specialist handle the opener side. garage door opener repair covers the force-limit, auto-reverse, and smart-app connectivity checks in one visit.
What to Lubricate and What to Avoid
This is where generic advice does the most damage. The standard recommendation is white lithium grease, and it’s a poor choice in a humid climate because it doesn’t displace moisture well; it can sit on top of a damp surface and hold it there. For a door in Norfolk, use a moisture-resistant product that’s designed to displace water and stay put. Silicone-based spray is the better fit for moving parts. Here’s the short list of what to use, and what not to.
- Use: silicone-based lubricant on rollers, hinges, and the torsion shaft bearings. Apply sparingly; a little goes a long way, and excess attracts dirt.
- Use: a light coat on the track surface itself is optional and should be minimal; too much turns the track into a dirt magnet.
- Avoid: white lithium grease on the springs and moving parts in a humid garage. It’s fine in a dry climate, not here.
- Avoid: WD-40 as a long-term lubricant. It’s a good cleaner and a moisture displacer in the short term, but it evaporates and leaves the part unprotected. If you use it to clean, follow with a proper silicone lube.
- Avoid: lubricating the spring coils themselves. The oil attracts grit and can trap moisture against the metal. Inspect the springs; don’t oil them.
Lubricate after inspection, not before, so you’re not masking the rust you need to see. For a brand-new Wayne Dalton or Raynor door, the same rules apply; the factory-specified lubricant is usually a light oil or silicone, and the label on a new door is worth reading before you reach for the grease gun. We service all these systems, so if the label isn’t clear, a technician can point you to the right product on a maintenance visit.
Your Seasonal Maintenance Schedule
Norfolk doors need the checklist twice a year, timed around the temperature swings that stress the seals and the springs. Spring and fall are the natural bookends: inspect in spring as the humidity climbs so you catch Stage 1 oxidation before it moves to pitting, and inspect again in fall as the cold sets in so you catch weatherstripping that cracked over the summer.
- Spring pass: inspect springs for early oxidation, check rollers for flat spots, test the auto-reverse, look for light gaps at the bottom seal as the humidity returns.
- Fall pass: re-inspect the springs for pitting after a humid summer, check the weatherstripping for hardening and cracks after the heat, test both opener safety features, lubricate with silicone.
- Every pass: tighten loose track fasteners, verify the door’s balance, and note anything that’s changed since last time.
A new door or a recently installed opener may need the first inspection sooner, especially if the door faces a humid garage. A door that’s already past its first decade of cycling is on the aggressive side of the schedule and belongs on a two-pass routine from the start. If any pass turns up something beyond your comfort level, that’s the point to call. A free estimate costs nothing, and getting in front of a spring failure is far cheaper than repairing after one. Our technicians have up to 14 years of experience, and they’ll tell you whether the door needs a part, a repair, or just a cleaning.
Common Mistakes to Avoid
- Lubricating before inspecting. You’ll coat the rust you need to see and miss the earliest sign of spring failure. Inspect first, lubricate second.
- Using standard white lithium grease. It doesn’t displace moisture well in Norfolk’s humidity and can trap damp against the metal. Use silicone.
- Adjusting the force limit to force a heavy door. If the door feels heavy, the spring is usually the problem, and cranking the force limit just masks it and wears the opener.
- Hammering a bent track back into place. It weakens the mounting and usually bends again. A dented track needs replacing, and the reason it bent needs diagnosing.
- Ignoring the bottom seal. A cracked seal lets moisture into the garage, which feeds spring corrosion, the very first item on the checklist.
- Treating a broken spring as a DIY project. High-tension springs store dangerous energy. This is work for a trained specialist, full stop.
- Waiting for a noise to become a failure. A thumping roller or a straining opener is a warning, not a nuisance. The fix is cheaper before the breakdown.
See the difference
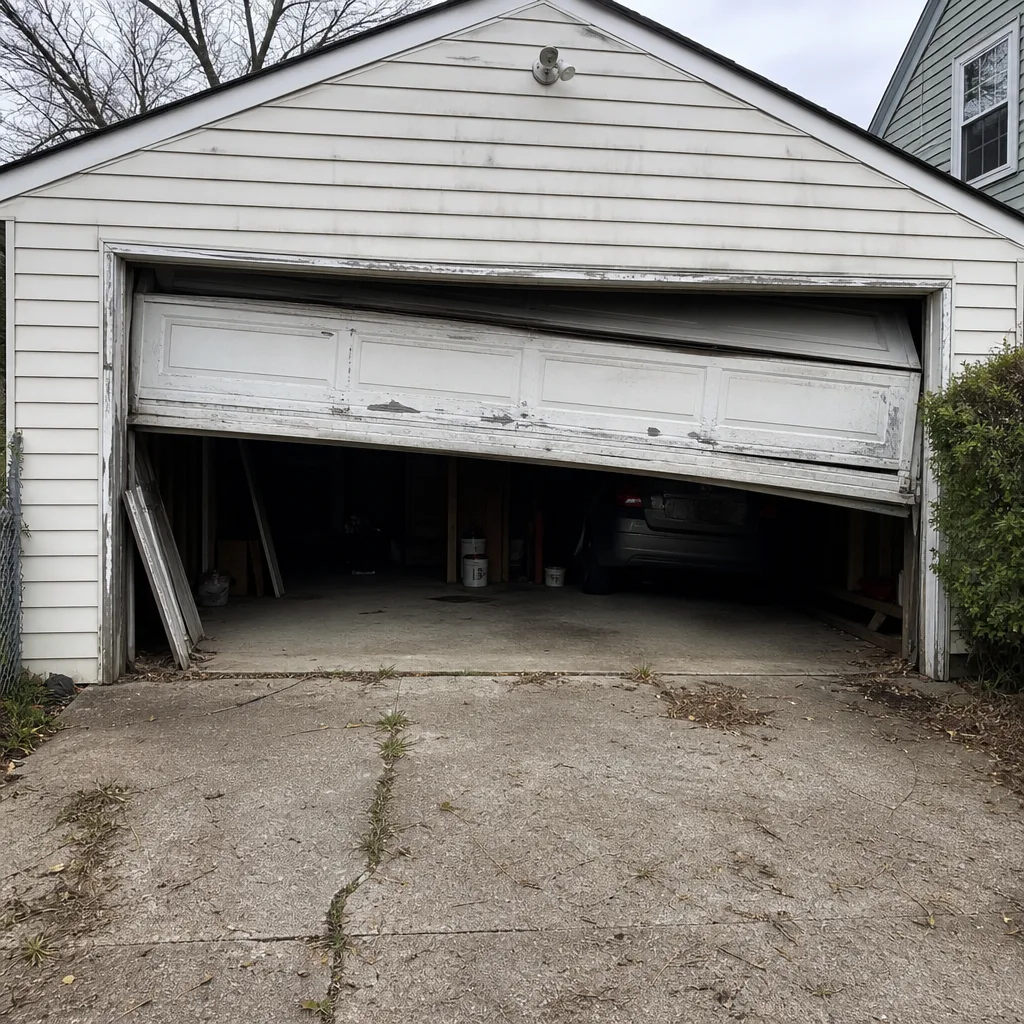 Before
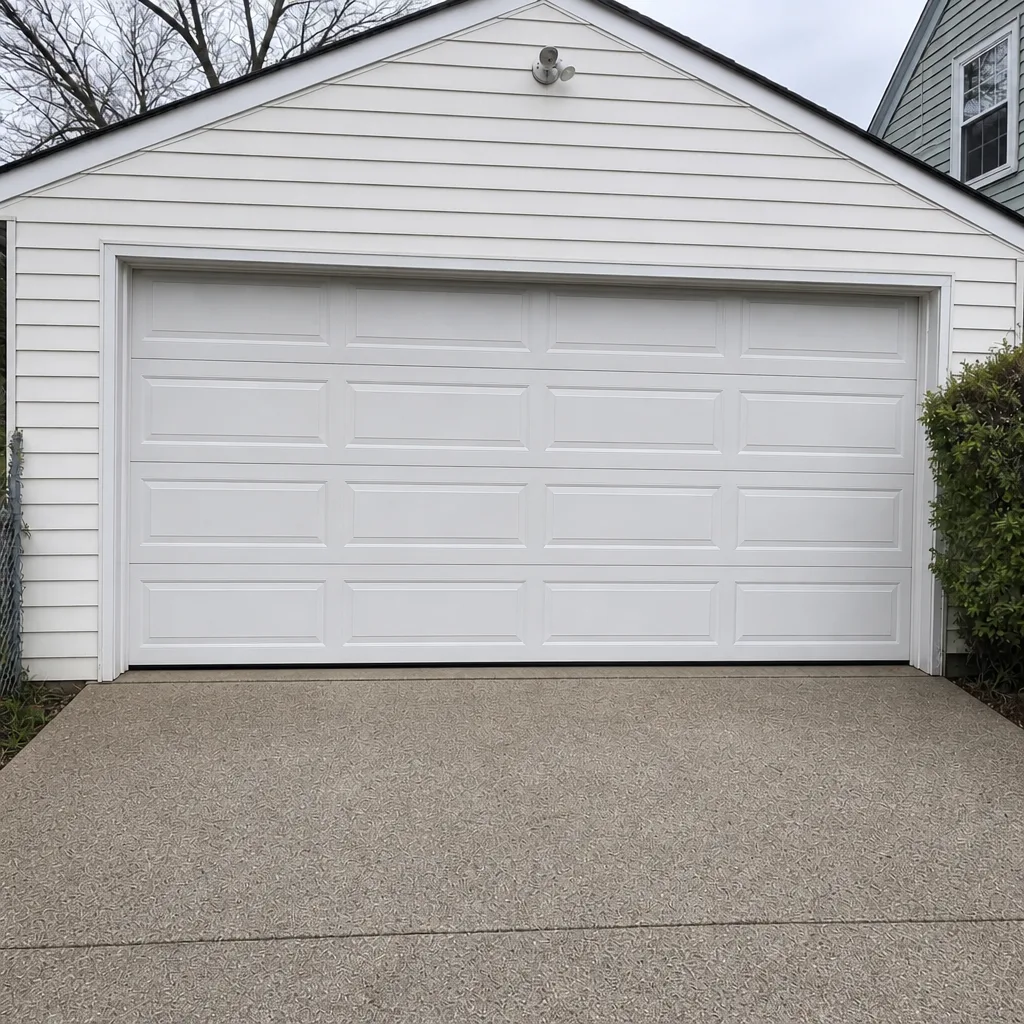 After
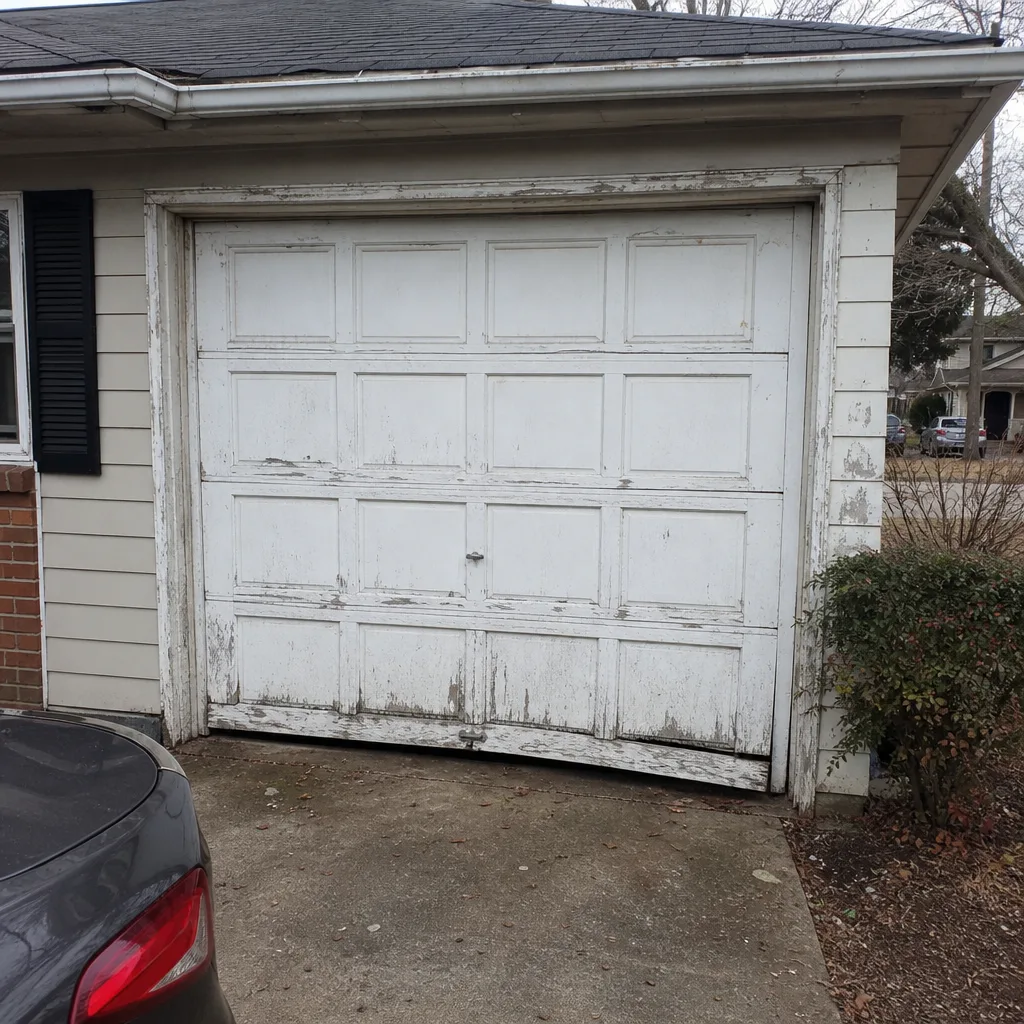 Before
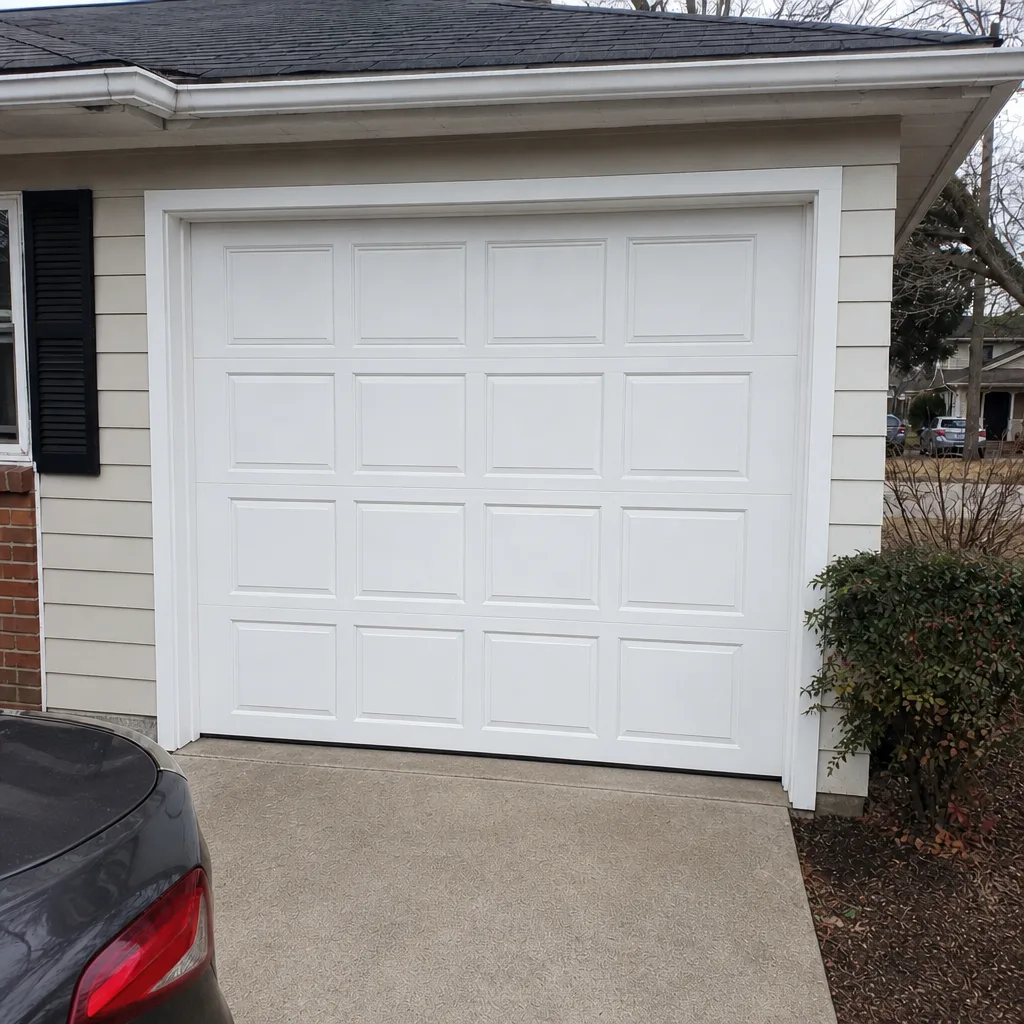 After
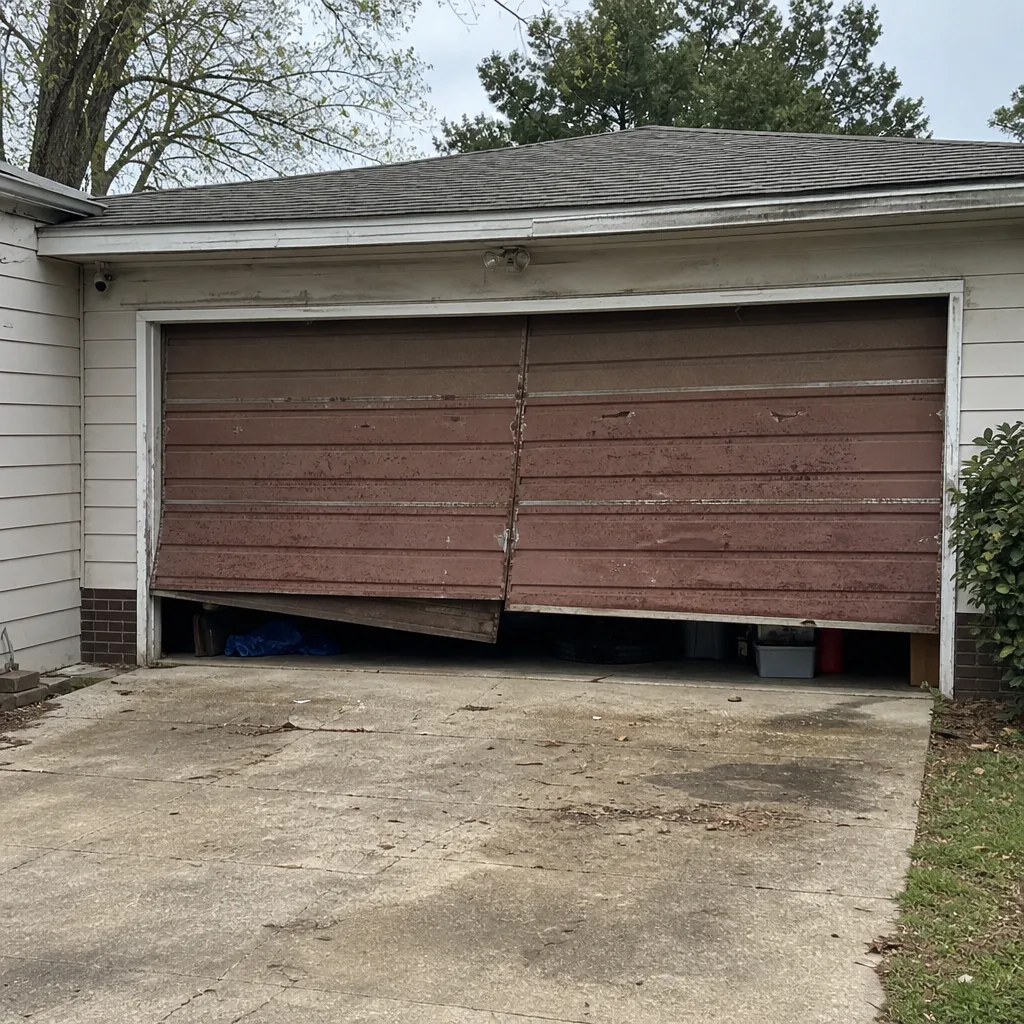 Before
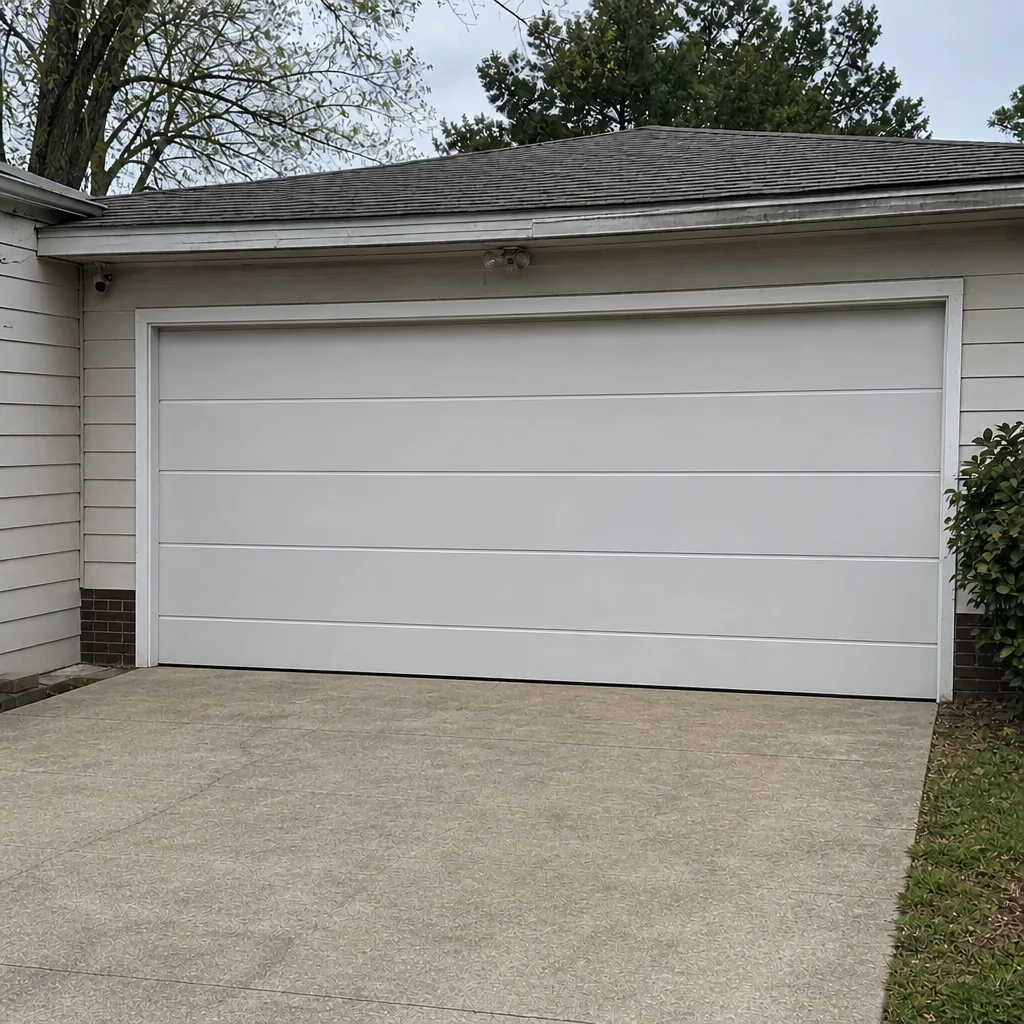 After
When to Call a Professional
Call a specialist in three situations. First, any sign of spring failure: a visible gap in the coil, Stage 2 pitting, or a door you can’t balance. That’s dangerous and urgent. Second, a door that won’t move at all, or one that’s stuck open and leaving the garage exposed; emergency garage door service covers those. Third, a door that’s out of balance, making new noises, or failing the auto-reverse test after you’ve followed the checklist. Our technicians service eight major brands, from LiftMaster and Chamberlain to Wayne Dalton and Raynor, so the brand won’t be a dead end. Norfolk Garage Door Repair Experts offers free estimates in Norfolk: call (844) 443-3797. We answer 24/7. Fast dispatch from 7am to 7pm, Sunday through Friday. The written estimate sets the price, and it’s agreed before any work starts.
Frequently Asked Questions
Twice a year, in spring and fall, timed around the temperature swings that stress the springs and weatherstripping. Spring inspections catch early oxidation as humidity climbs, and fall inspections catch seal cracks after the summer heat.
If the coil shows pitting, flaking, or a visible gap, the spring is past its safe life and needs replacement. Surface oxidation alone is normal and can be monitored. Anything beyond Stage 1 is a call for a specialist, not a repair you attempt yourself.
Yes, for the rollers and hinges, with a silicone-based lubricant, not white lithium grease. Don’t lubricate the springs themselves, and don’t touch anything under tension. If you’re unsure, a technician can walk you through it on a maintenance visit.
Standard white lithium grease. It doesn’t displace moisture well in humid air and can trap damp against metal. Silicone-based spray is the better choice. WD-40 works as a short-term moisture displacer but not as a long-term lubricant.
If the door is stuck closed or open and it’s leaving your home exposed, or a spring has visibly broken, yes. Call and describe what you see. We answer 24/7, and a call outside dispatch hours is booked into the next opening, Sunday through Friday, 7am to 7pm.
Yes. We service eight major brands: LiftMaster, Chamberlain, Genie, Clopay, Amarr, Wayne Dalton, Craftsman, and Raynor. Whether it’s an opener or a door, the brand shouldn’t be a dead end. Call for a free estimate.
The Bottom Line
The right maintenance order for a Norfolk door is springs, then rollers, then tracks, then weatherstripping, then the opener’s safety tests. Springs fail first here because humidity corrodes them fast, and an unbalanced door then wears out everything downstream. Inspect before you lubricate, use silicone not white lithium, and know the rust stages: surface oxidation is fine, pitting is a warning, and a gap means stop. Two passes a year, spring and fall, keep the sequence in front of you. And leave the spring work to a trained specialist. Follow the checklist, and your door’s next failure will come as a scheduled task, not a surprise.
Get a Free Estimate
If your inspection turned up anything beyond the basics, or you’d rather have a specialist do the pass, call Norfolk Garage Door Repair Experts at (844) 443-3797 for a free estimate. We answer 24/7. Fast dispatch from 7am to 7pm, Sunday through Friday. Our technicians have up to 14 years of experience and service eight major manufacturers, so the door you have is a door we can work on. The estimate is free, the price is quoted up front, and the work starts only after you agree to it. Read more about our Norfolk Garage Door Repair Experts services, or book a seasonal maintenance pass and let us take the checklist off your hands.
Written by the team at Norfolk Garage Door Repair Experts.